Our Pop Up Camper Makeover
A bright and airy camper makeover that cost less than $400! Come take a tour and get tips and tricks to inspire your own trailer makeover!
Last summer we purchased a new-to-us pop up camper for our growing family. With 5 of us, including a teenager that is almost 6 feet tall, plus a dog, our camper was just too small to hold us comfortably. So we set out in search of a camper that had beds for us all, better storage, a functional dining area, and room to move.
We’ve been talking for a couple of years about what we wanted to do once we outgrew our trailer, and we decided to buy a pop up camper. I grew up camping in pop up trailers and have always loved them. They are surprisingly very roomy, have a lot of storage and the sleeping arrangements are great. Plus if you buy them used they’re relatively inexpensive, and often don’t really need a lot of work done. So last summer we decided to take the leap and buy a new-to-us pop up camper.

The camper we purchased is a 2004 Forest River Rockwood Pop Up Camper and it was in great shape. It was camping-ready but we’ve always wanted to make over a trailer so we decided this was the perfect one to do this with! The bones were great, everything worked properly, so all we really had to do was give it an interior aesthetic makeover…things like new curtains, cushions, flooring and countertops.
Here’s a quick look at how things looked before:
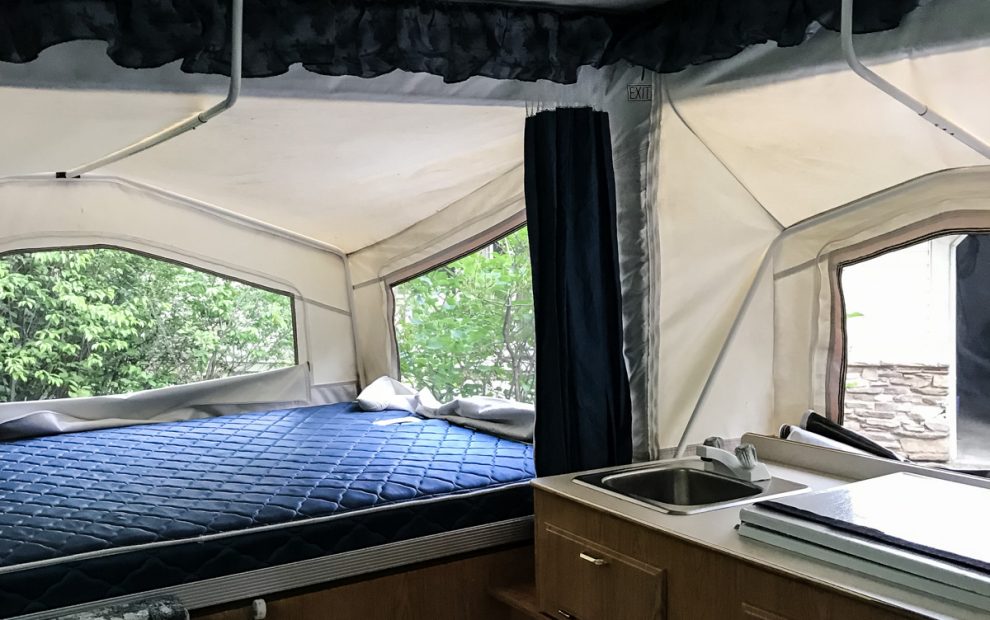


See, it’s in great shape…but we just wanted to make it our own. So armed with a $400 budget and 2 weeks deadline, we got to work!
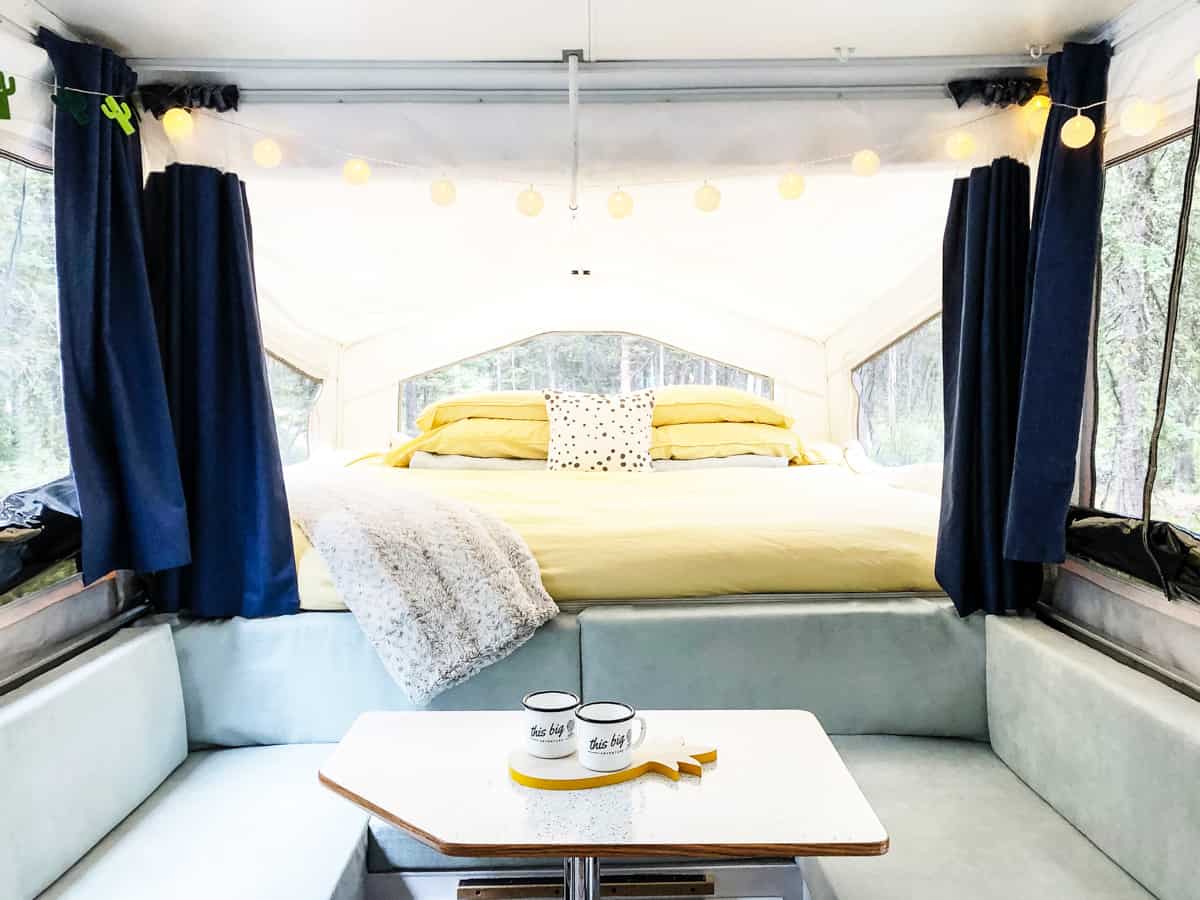
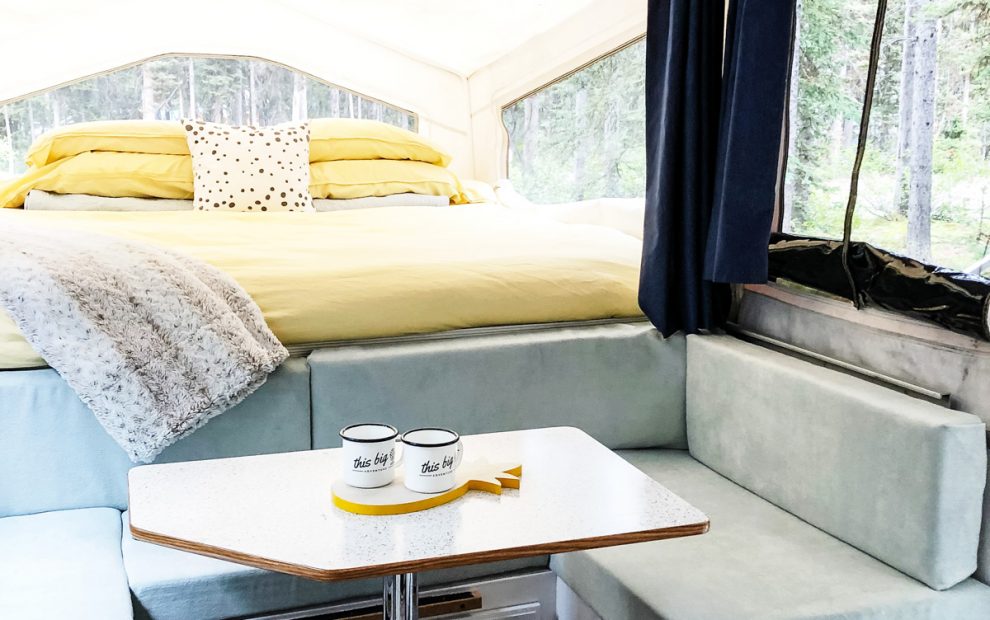
Come on inside, here is what our camper looks like now!


Fresh, bright and airy! It’s practical too…I know a lot of people will be shocked at the light colours, but everything is washable. We’re not worried about it at all. We love it so much.

Our Camper Makeover Details:
Our camper was in great condition, so we really only made aesthetic changes. Here’s what we did:
- Primed and painted the cabinets. We painted the cabinets with a really light grey cabinet paint.
- Added new flooring. We laid a vinyl grey peel and stick hardwood over the existing linoleum floors.
- Covered the counter and table tops. We covered these spaces with contact paper and sealed them.
- Recovered the cushions. This was a no-sew project. I bought deeply discounted washable couch fabric to cover all the cushions. I kept the foam inserts because they were in excellent shape.
- The Little Details: I lined the inside of all of the cabinets with drawer liners, purchased new bed linens, new rugs, dishes, string lights and decorations.
- Things we didn’t change: We kept the original curtains, the mattresses, all the drawer handles and counter trims. If it was in good shape and matched, it stayed.
The Budget
We’re THRILLED with how this camper makeover turned out! And we managed to complete the whole thing in 2 weeks with us doing what we could on weeknights and weekends. And we definitely stayed on budget! Everything came in at $354 for all the renovation supplies! Woot woot!
Want to know more?
I shared more in-depth details of our camper makeover, over on my other blog ‘A Pretty Life’, so make sure to head over there! You can CLICK HERE to see more.
More Camping Tips!
Now that that camper is ready to go, it’s time to camp! Here are some great camping resources:
- Camping Supplies Checklist
- Camping Food List
- 15+ Camping Food Ideas for Rainy Camping Trips
- 11 Best Camping Apps